The Centers for Disease Control and Prevention (CDC) recommends that people wear masks, especially when other social distancing measures are difficult to maintain. Masks may help prevent people who have COVID-19 from spreading the virus to others and masks are most likely to reduce the spread of COVID-19 when they are widely used by people in public settings.
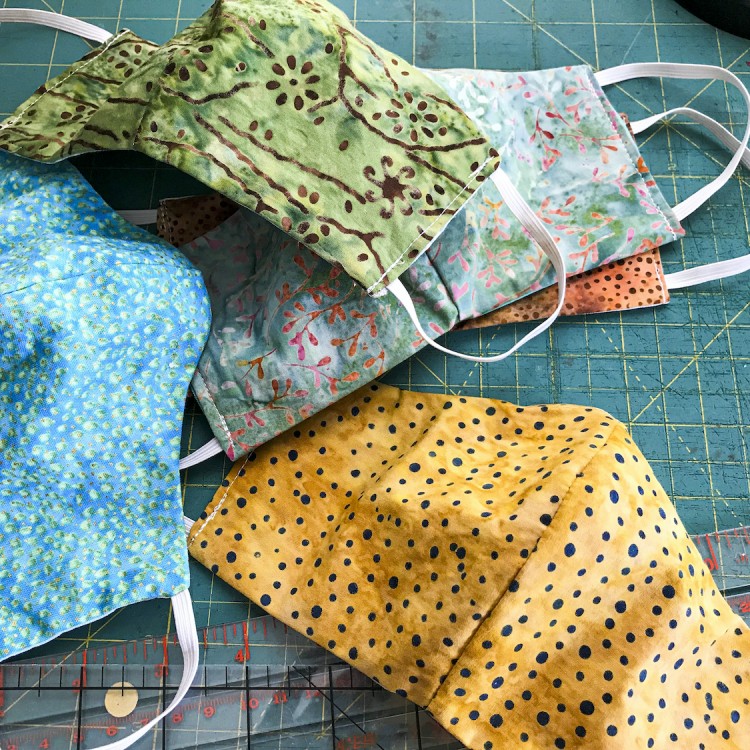
The Visiting Nurse Association supports thousands of seniors across the region each day and masks are always in high demand. If you have the time and materials to help make some masks to donate, it is much appreciated!
Please note: These masks will be used in line with CDC recommended uses. These are not a substitute for current procedures for masks or N95 masks.
Materials Needed:
- 100 % woven cotton fabric (not flannel) in muslin or quilting fabric weight
- 1/4″ elastic or piping cord, ribbon, etc. if elastic is unavailable
- Thread
- Scraps of iron-on interfacing. (To enclose ends of nose wires cut from materials below.)
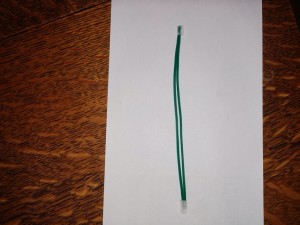
- Spool of 100 ft Vigoro Plant Tie with Cutter. (This product is pictured at the end of these instructions.)
Note: Approximately 3/8″ seams were used in sewing
Instructions:
STEP 1
For each mask, cut (1) 8″ square of cotton and (2 ) 1 1/2″ x 4 1/2″ strips of cotton.
STEP 2
Cut 2 pieces of Vigoro wire 6″ long. Straighten them and lay side by side on ironing surface. Cut a scrap of iron-on interfacing just big enough to enclose the ends of the two wires (to help prevent them from poking through the fabric and into skin) set aside for now.
STEP 3
From 1/4″ elastic, cut (2) 9″ pieces and set aside for now.
STEP 4
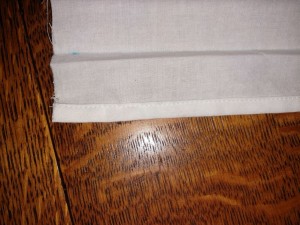
Working with 8″ square of fabric, turn under the top and bottom edges approximately 1/4″ twice to form finished hems on both edges.
STEP 5
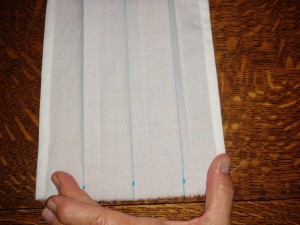
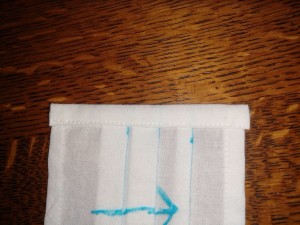
Measuring from finished bottom edge, measure and mark folds for pleats at the following distances: 1 1/2″, 3 1/4″ and 5″. Fold and steam press very well.
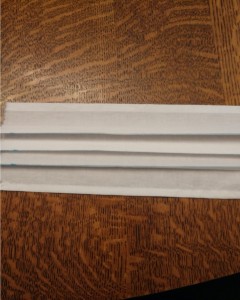
STEP 6
Form tucks by folding these lines down. Your finished tucks when flat should reduce the height of the mask from approximately 3 3/4″ tall. Size your tucks to achieve that measurement.
STEP 7
Stitch only over ends of tucks to hold them in place.
STEP 8
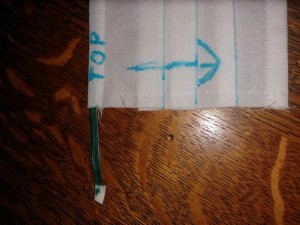
Insert prepared wire strands in the casing formed when you hemmed the top of your mask. Center the wire.
STEP 9
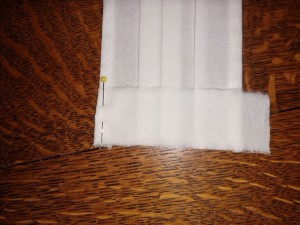
Take one of your 4 1/2″ strips of fabric and place it RIGHT side of strip to WRONG side of one of the mask sides folding the excess around to the front of the mask. Stitch. Trim corners and turn away from mask.
STEP 10
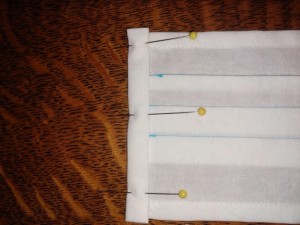
Press under raw edge of strip 1/4″ toward wrong side of strip, bring folded edge over and pin just beyond stitching line formed when you attached strip. Topstitch in place. Repeat with other side.
STEP 11
Your enclosure for the sides has also created a casing for your elastic (or cording/ribbon, etc. if necessary). Insert your 9″ piece of elastic, overlap ends approximately 1/2″ and stitch back and forth several times to secure. Adjust elastic so that join is hidden in casing.
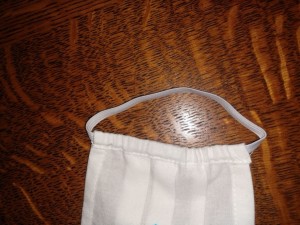
FINISHED
Congratulations! You are now finished with MASK NUMBER ONE! Pat yourself on the back and get ready for another round!
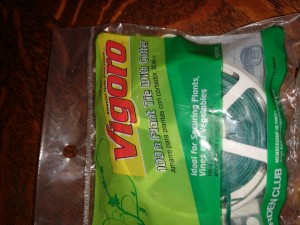
Additional Note
Spool of 100 ft Vigoro Plant Tie with Cutter.
Please deliver completed masks to:
Visiting Nurse Association
Meals on Wheels Kitchen
1440 W Mockingbird Lane
Dallas, TX 75247
(214) 689-2639
9-11am in box outside the front door on Tuesdays and Thursdays
For any questions regarding these instructions, please contact:
Nancy Crowley, Hospice Volunteer at 520-271-6287
Laura Kaiser, Hospice Volunteer Manager at 972-533-4639 or kaiserl@vnatexas.org
Thank you so much for helping us stay safe!